4.5. Recovering Data from a Non-Booting Mac/Crashed Computer
Applicability: This topic on “Recovering Data from a Non-Booting Mac/Crashed Computer” is only for the Professional, Premium, and Technician edition of Stellar Data Recovery.
Stellar Data Recovery provides an option to recover data from a non-booting mac/crashed computer. When the computer (or in other words, its hard drive) crashes, the operating system fails to load, and the computer does not boot up. For such incidents, Stellar Data Recovery has an option to recover data without using any external bootable devices.
Note: Before you begin with this procedure, make sure that your Mac/System is switched off.
Recover a Non - Booting Mac/System Disk for M1 chip system:
-
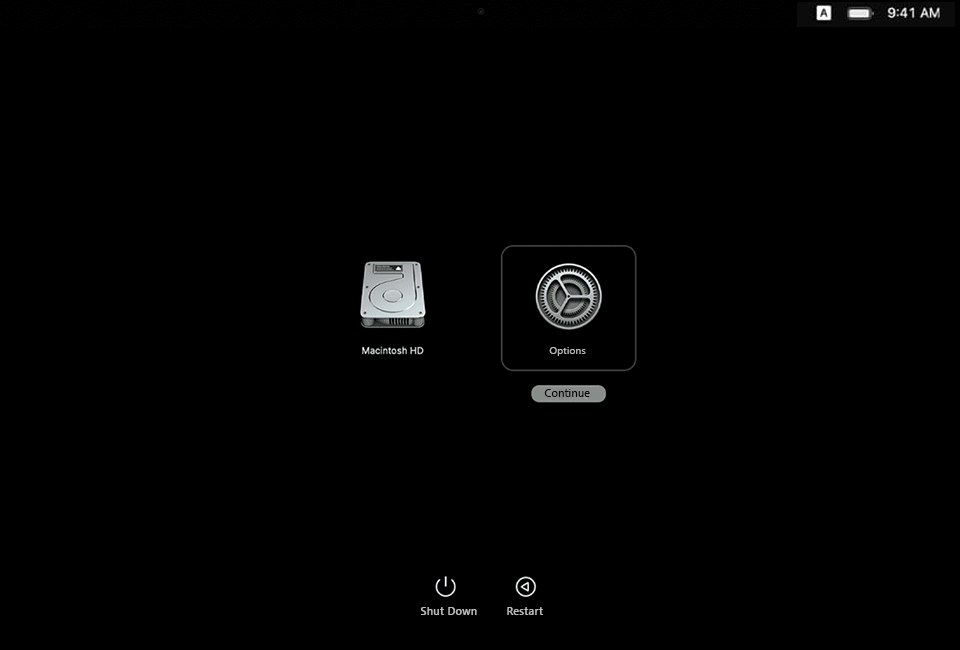
Press and hold the Power /Touch ID button to turn on your Mac until Recovery mode appears.
-
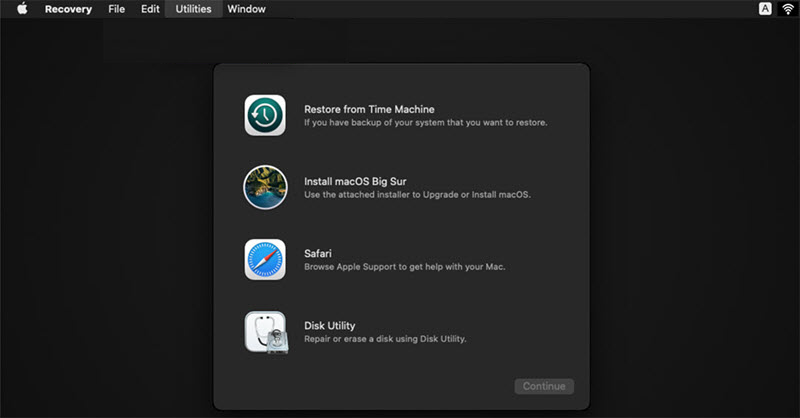
Select Options and click Continue.
- A macOS Recovery window appears. Click Next to open the login screen.
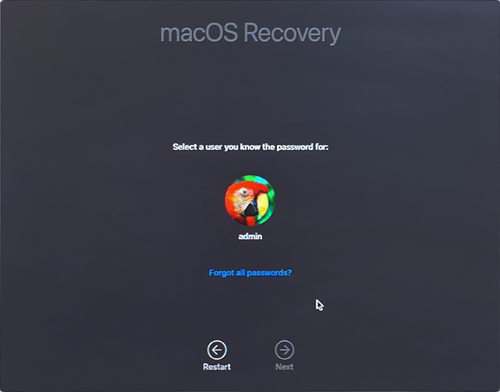
-
Enter the Admin Password and click Continue. A Recovery mode screen appears.
-
Before proceeding to next steps, connect your Mac to an active Wi-Fi network.
-
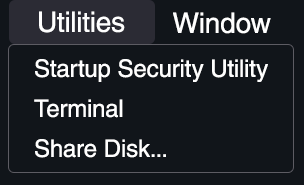
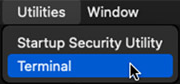
From Utilities menu, select Terminal option to open the Terminal box.
-
Type the following command in the terminal box and press Return.


Note: While typing the command, make sure to keep a space between sh and <, curl and http.
-
Accept the License Agreement to open the user interface of Stellar Data Recovery.
-
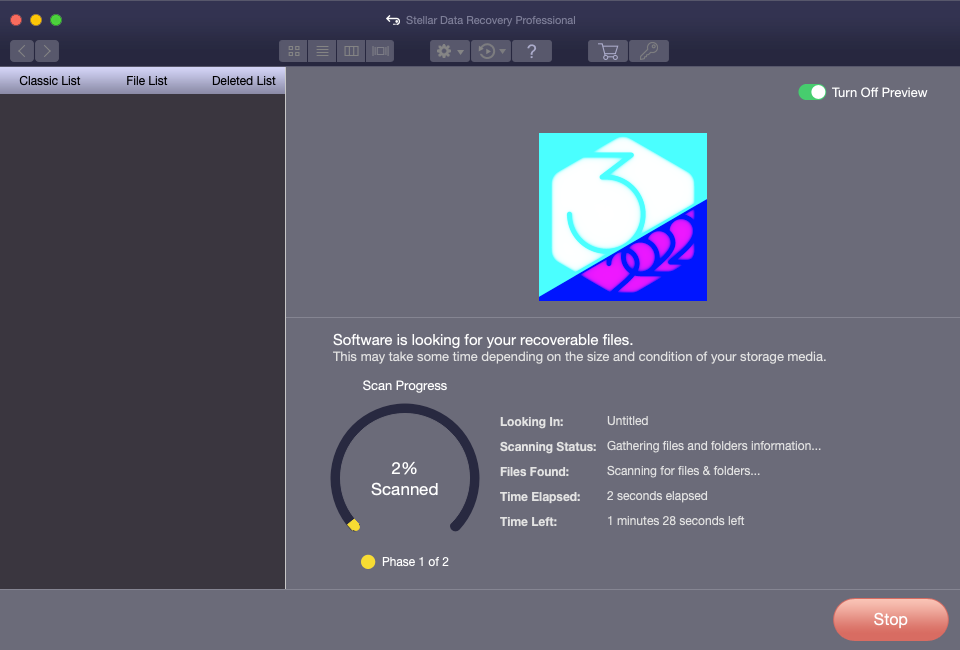
Select the drive you want to recover and select Scan.
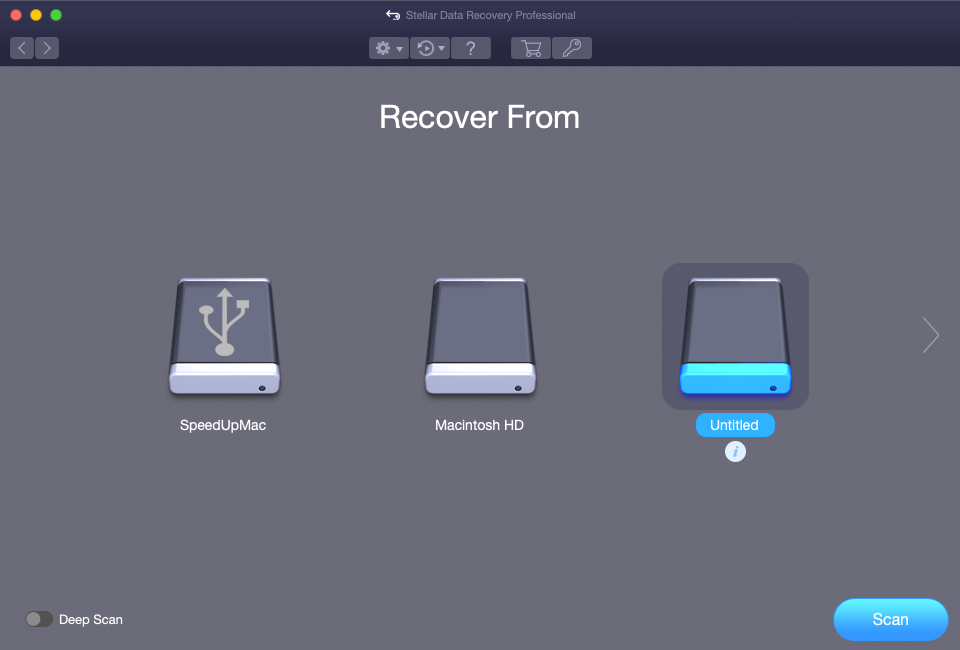
Note: If you want to end the scan at any instance, click Stop.
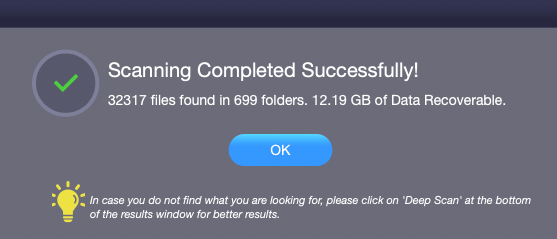
- After the scan is completed, a dialog box is displayed with a message Scanning Completed Successfully! as shown below. Click OK to continue.
- To recover the data, click Recover button. An Activation window appears on the screen.
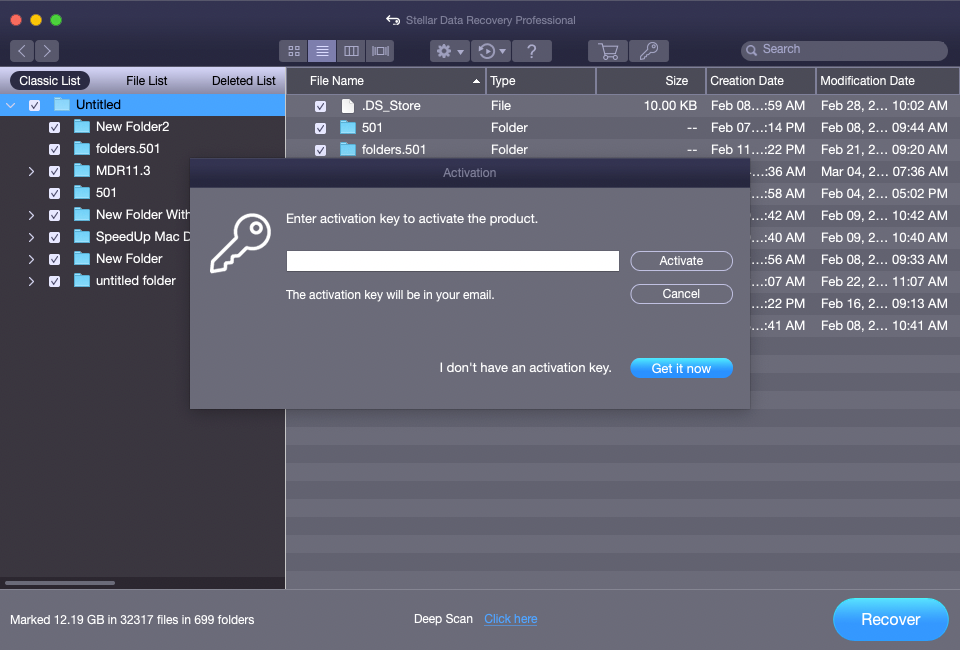
Note: To recover the scanned data, the software must be activated.
-
See Activating the Software to activate the software.
-
For information on how to preview and recover the scanned data, see Previewing Scan Results and Saving the Recovered Files.
Note: If you wish to save the scanned information and resume the recovery process at a later stage, see Saving the Scan Information.
Recover a Non - Booting Mac/System Disk for T2 security chip and all other machines:
-
Press and release the Power /Touch ID button to turn on your Mac.
-
Immediately press and hold Command + R button until Recovery mode screen appears.
-
Before proceeding to next steps, connect your Mac to an active Wi-Fi network.
-
From Utilities menu, select Terminal option to open the Terminal box.
- Type the following command in the terminal box and press Return.
Note: While typing the command, make sure to keep a space between sh and <, curl and http.
-
Accept the License Agreement to open the user interface of Stellar Data Recovery.
-
Select the drive you want to recover and select Scan.
Note: If you want to end the scan at any instance, click Stop.
- After the scan is completed, a dialog box is displayed with a message Scanning Completed Successfully! as shown below. Click OK to continue.
- To recover the data, click Recover button. An Activation window appears on the screen.
Note: To recover the scanned data, the software must be activated.
-
See Activating the Software to activate the software.
-
For information on how to preview and recover the scanned data, see Previewing Scan Results and Saving the Recovered Files.
Note: If you wish to save the scanned information and resume the recovery process at a later stage, see Saving the Scan Information.
If you receive an error message after typing the command in the terminal box, verify the steps below:
1. Check for active internet connection.
- Make sure you are connected to an active Wi-Fi network before entering the command in the terminal box.
2. Check for correct command.
-
While you type the command, it is possible to miss a blank space between sh and <, curl and http. Check and rewrite the correct command.
-
If you are unable to run the command, click here for online technical support.
To know more about the software, click on the Help  button.